

The completed remodel.


The Process…

A rendering of the proposed redesign after some gentle nudging from the Houston Archaeological and Historical Commission.

The existing front of the home.
The clients recently purchased this 1925 bungalow and wanted to remodel and add on in back. The home was in the process of being remodeled by the previous owner when work stopped and the home was sold as is, basically a shell with no electricity or plumbing.

The existing rear of the home. An L-shaped addition to the back will add approximately 450 square feet and include a master bedroom, bathroom, and mud room.

The existing interior: living room, dining room, and kitchen in back.
The first task was to remove the existing front porch and create a more prominent porch that would not only provide a functional space that the owners could enjoy but would enhance the architectural character of the home as well. The interior of the home had been gutted previously and would be entirely remodeled throughout. It contained two bedrooms and one bathroom and a new addition to the back would contain another bedroom, bathroom, and a mud room.
The home is located in an historic district and any remodel work would require approval by the Houston Archaeological and Historical Commission. I had worked with them previously on another project but the change I had proposed for that project was minor. The approval process for this project was going to be much more involved.
The rendering below is of the initial design compared to the existing home and shows the new front porch and new rear addition:

It seemed obvious to me that where the existing center roof ridge stopped we would simply continue it forward and the roof valleys would extend to the front corners allowing us to create a new front porch that spanned the width of the home. The corners of the new porch would be anchored by massive tapering brick pedestals topped with painted wood columns. The profile of the front arch would be similar to the existing arch, only wider.
I could not wait to submit my design to the HAHC so that I could receive their praise, their enthusiastic approval, and perhaps a declaration that this would indeed be one of the finest homes in the neighborhood, a real 1920s jewel! The cat’s meow, if you will.
But that’s not how it went.
The HAHC rejected my design for a few reasons, all of which had to do with the context of the neighborhood. The intent was not simply to create an amazing 1920s bungalow as I had believed, but to create what most likely would have been built in this neighborhood, and specifically, what might have existed at this house originally. I didn’t care for this strategy at first but came to appreciate what the HAHC was trying to accomplish.
A Sanborn insurance map drawn in the 1920s shows each lot and a line drawing of each house.

A portion of the Sanborn map drawn for this neighborhood in the 1920s.
The house outline is not dimensioned but the porch, while not spanning the full width of the home, was clearly wider than what was there currently and would begin to give me some justification for making the new porch wider than what was there. Might there be any additional clues establishing the width of the original porch?
A study of the attic revealed that some of the rafters had been spliced at some point and the original cuts of the rafters aligned along the red line where a valley rafter might have been, indicating that the valleys had likely been farther apart previously.

The yellow line is on the third rafter from the end which, on the outside, is cut at an angle:

Rafter tail cut an an angle.
This allowed me to modify the design as shown in the first rendering at the top. The design was approved and construction began in March 2021.
Construction photos:
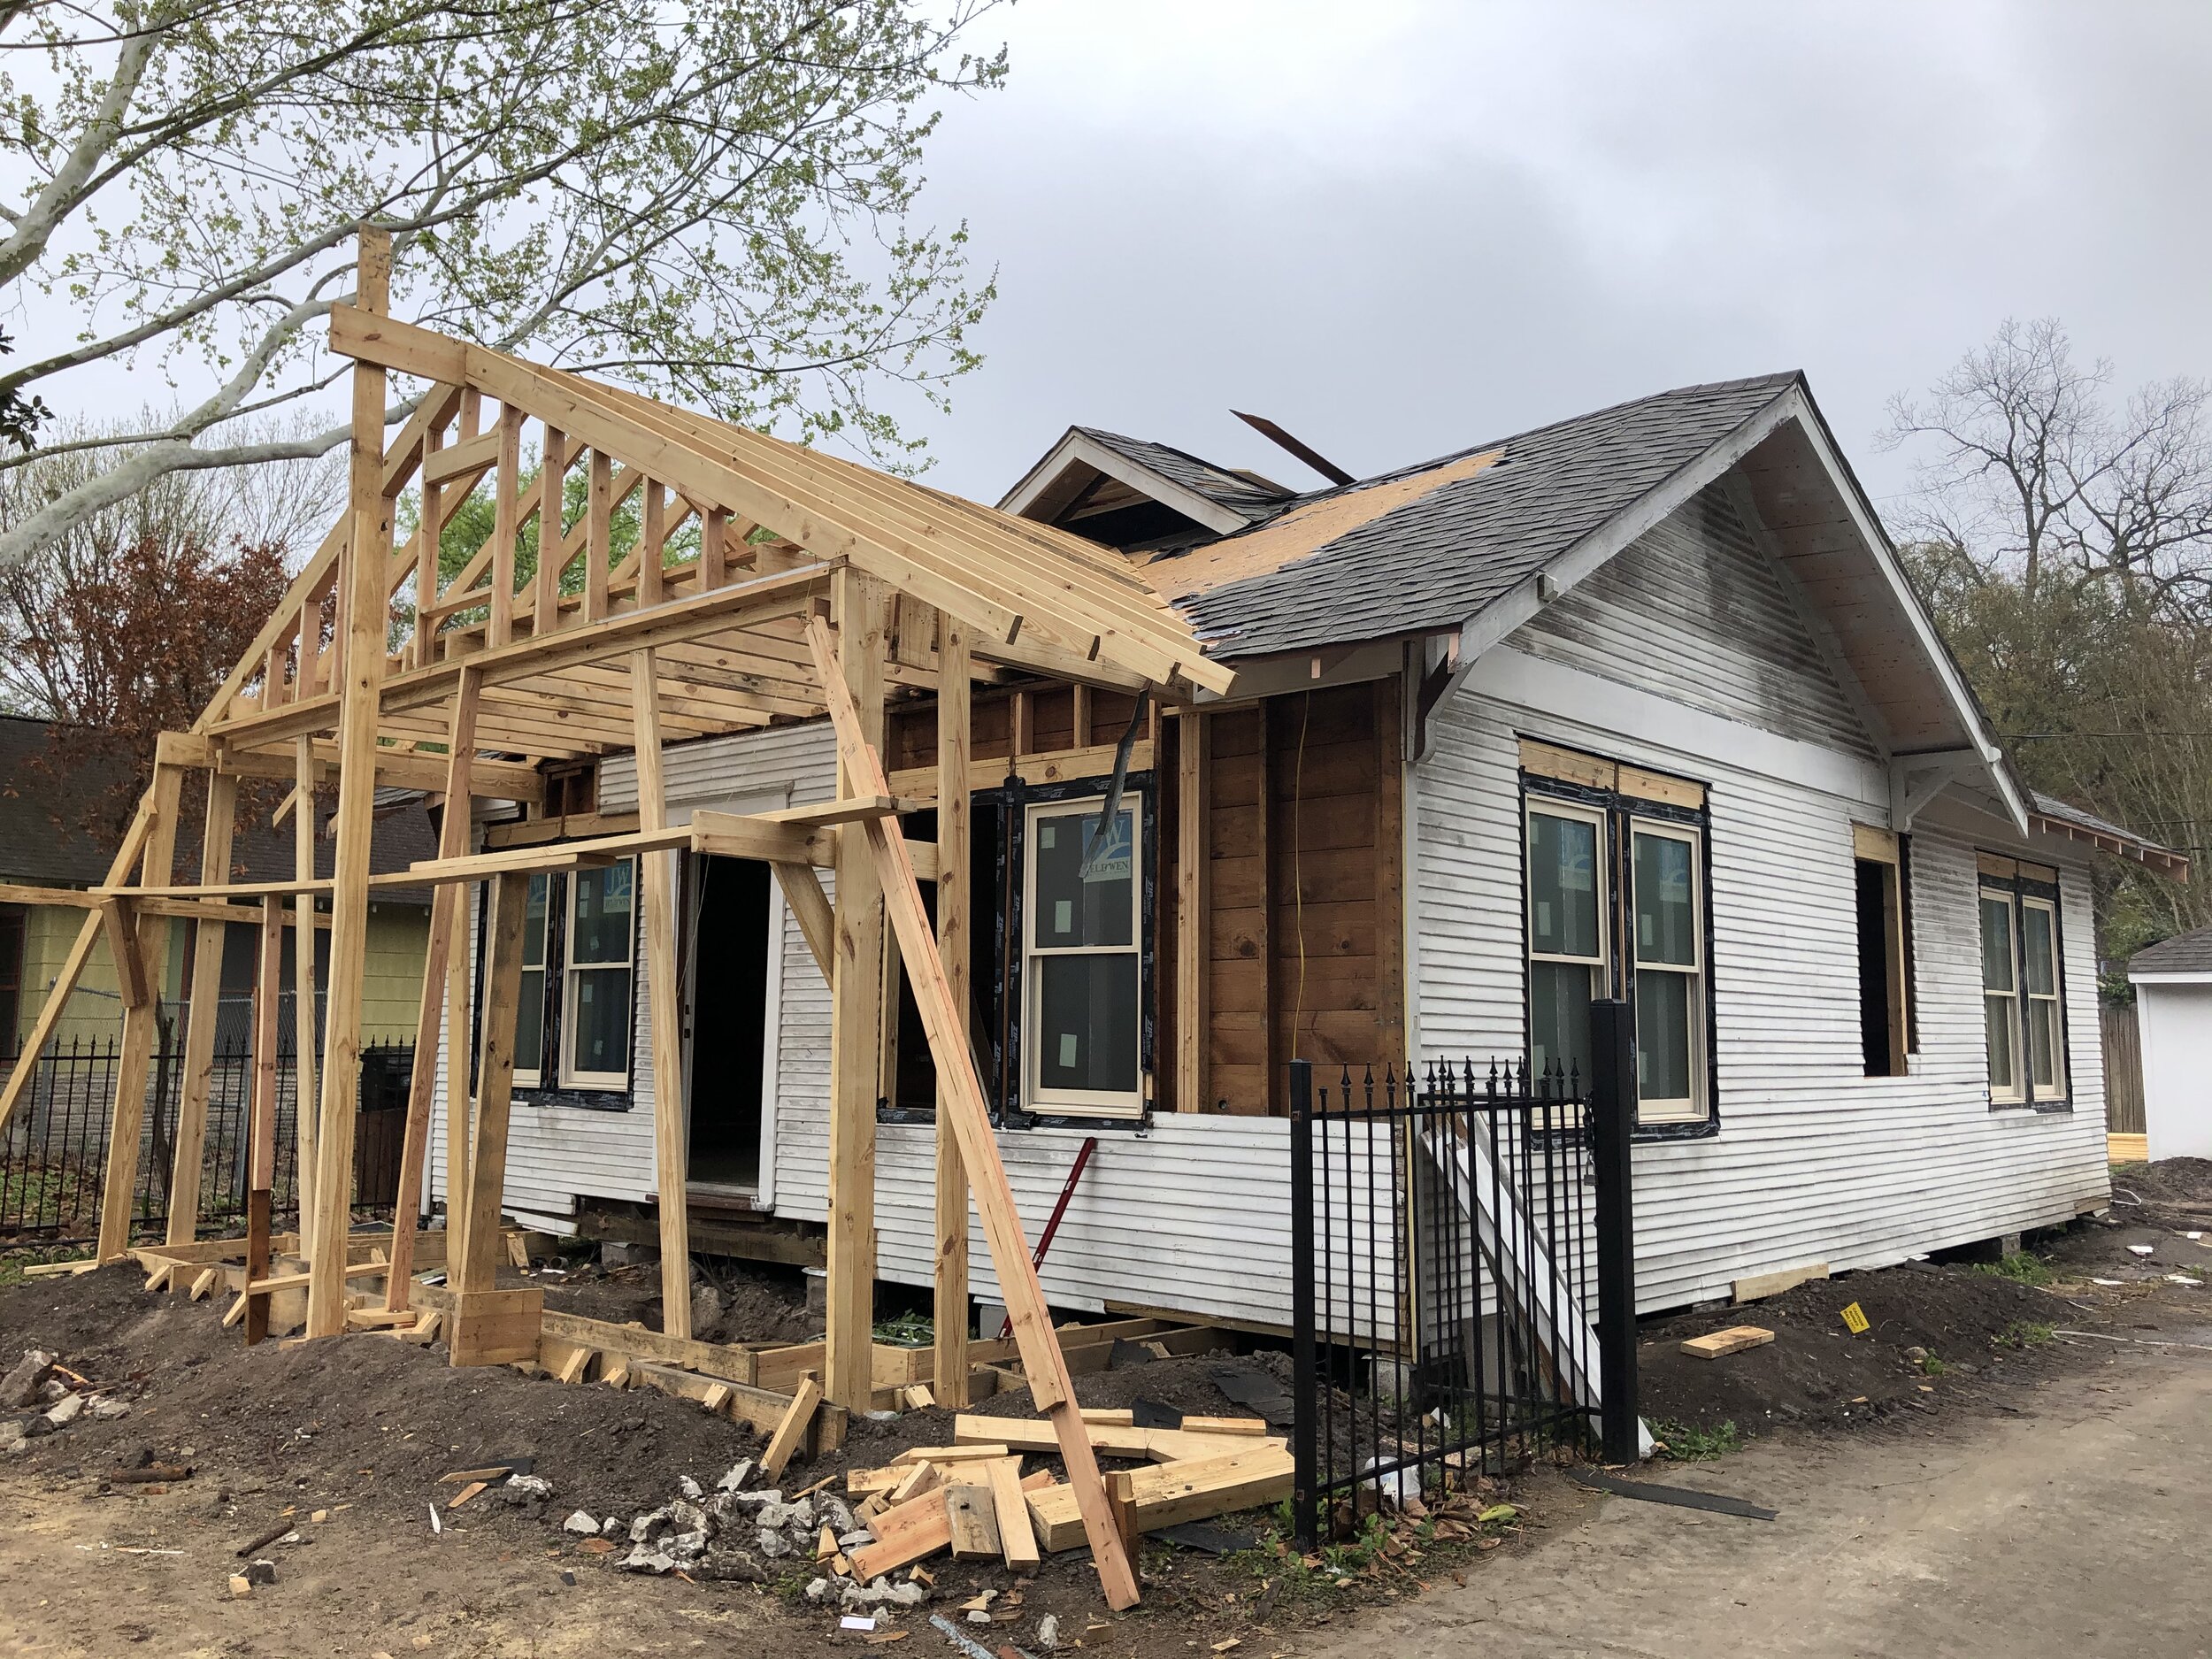
3-24-21 Work begins on the new front porch as well as the installation of new windows.

3-24-21 The back is getting blown out and almost ready to accept the new addition. Holes are dug for the footings of the new foundation.

4-6-21 With a little watering the footings sprout from the holes, almost over night.

4-13-21 Nearing completion of the foundation.

4-20-21 Walls going up.

4-26-21 The 5 seconds I didn’t spend rolling the green trash can out of the shot was put to better use elsewhere, I’m sure.

4-26-21 Rear view of the framed addition.

5-6-21 The front porch taking shape.

5-6-21 The opening between the living and dining room has been widened and the wall that used to separate the dining from the kitchen has been removed. Beyond the kitchen is the new mud room.

5-6-21 In the left background is the master bath and closet; low wall framing for the kitchen island; the original brick chimney has been exposed and to the right of it will go a bar; beyond and to the right is the living room.
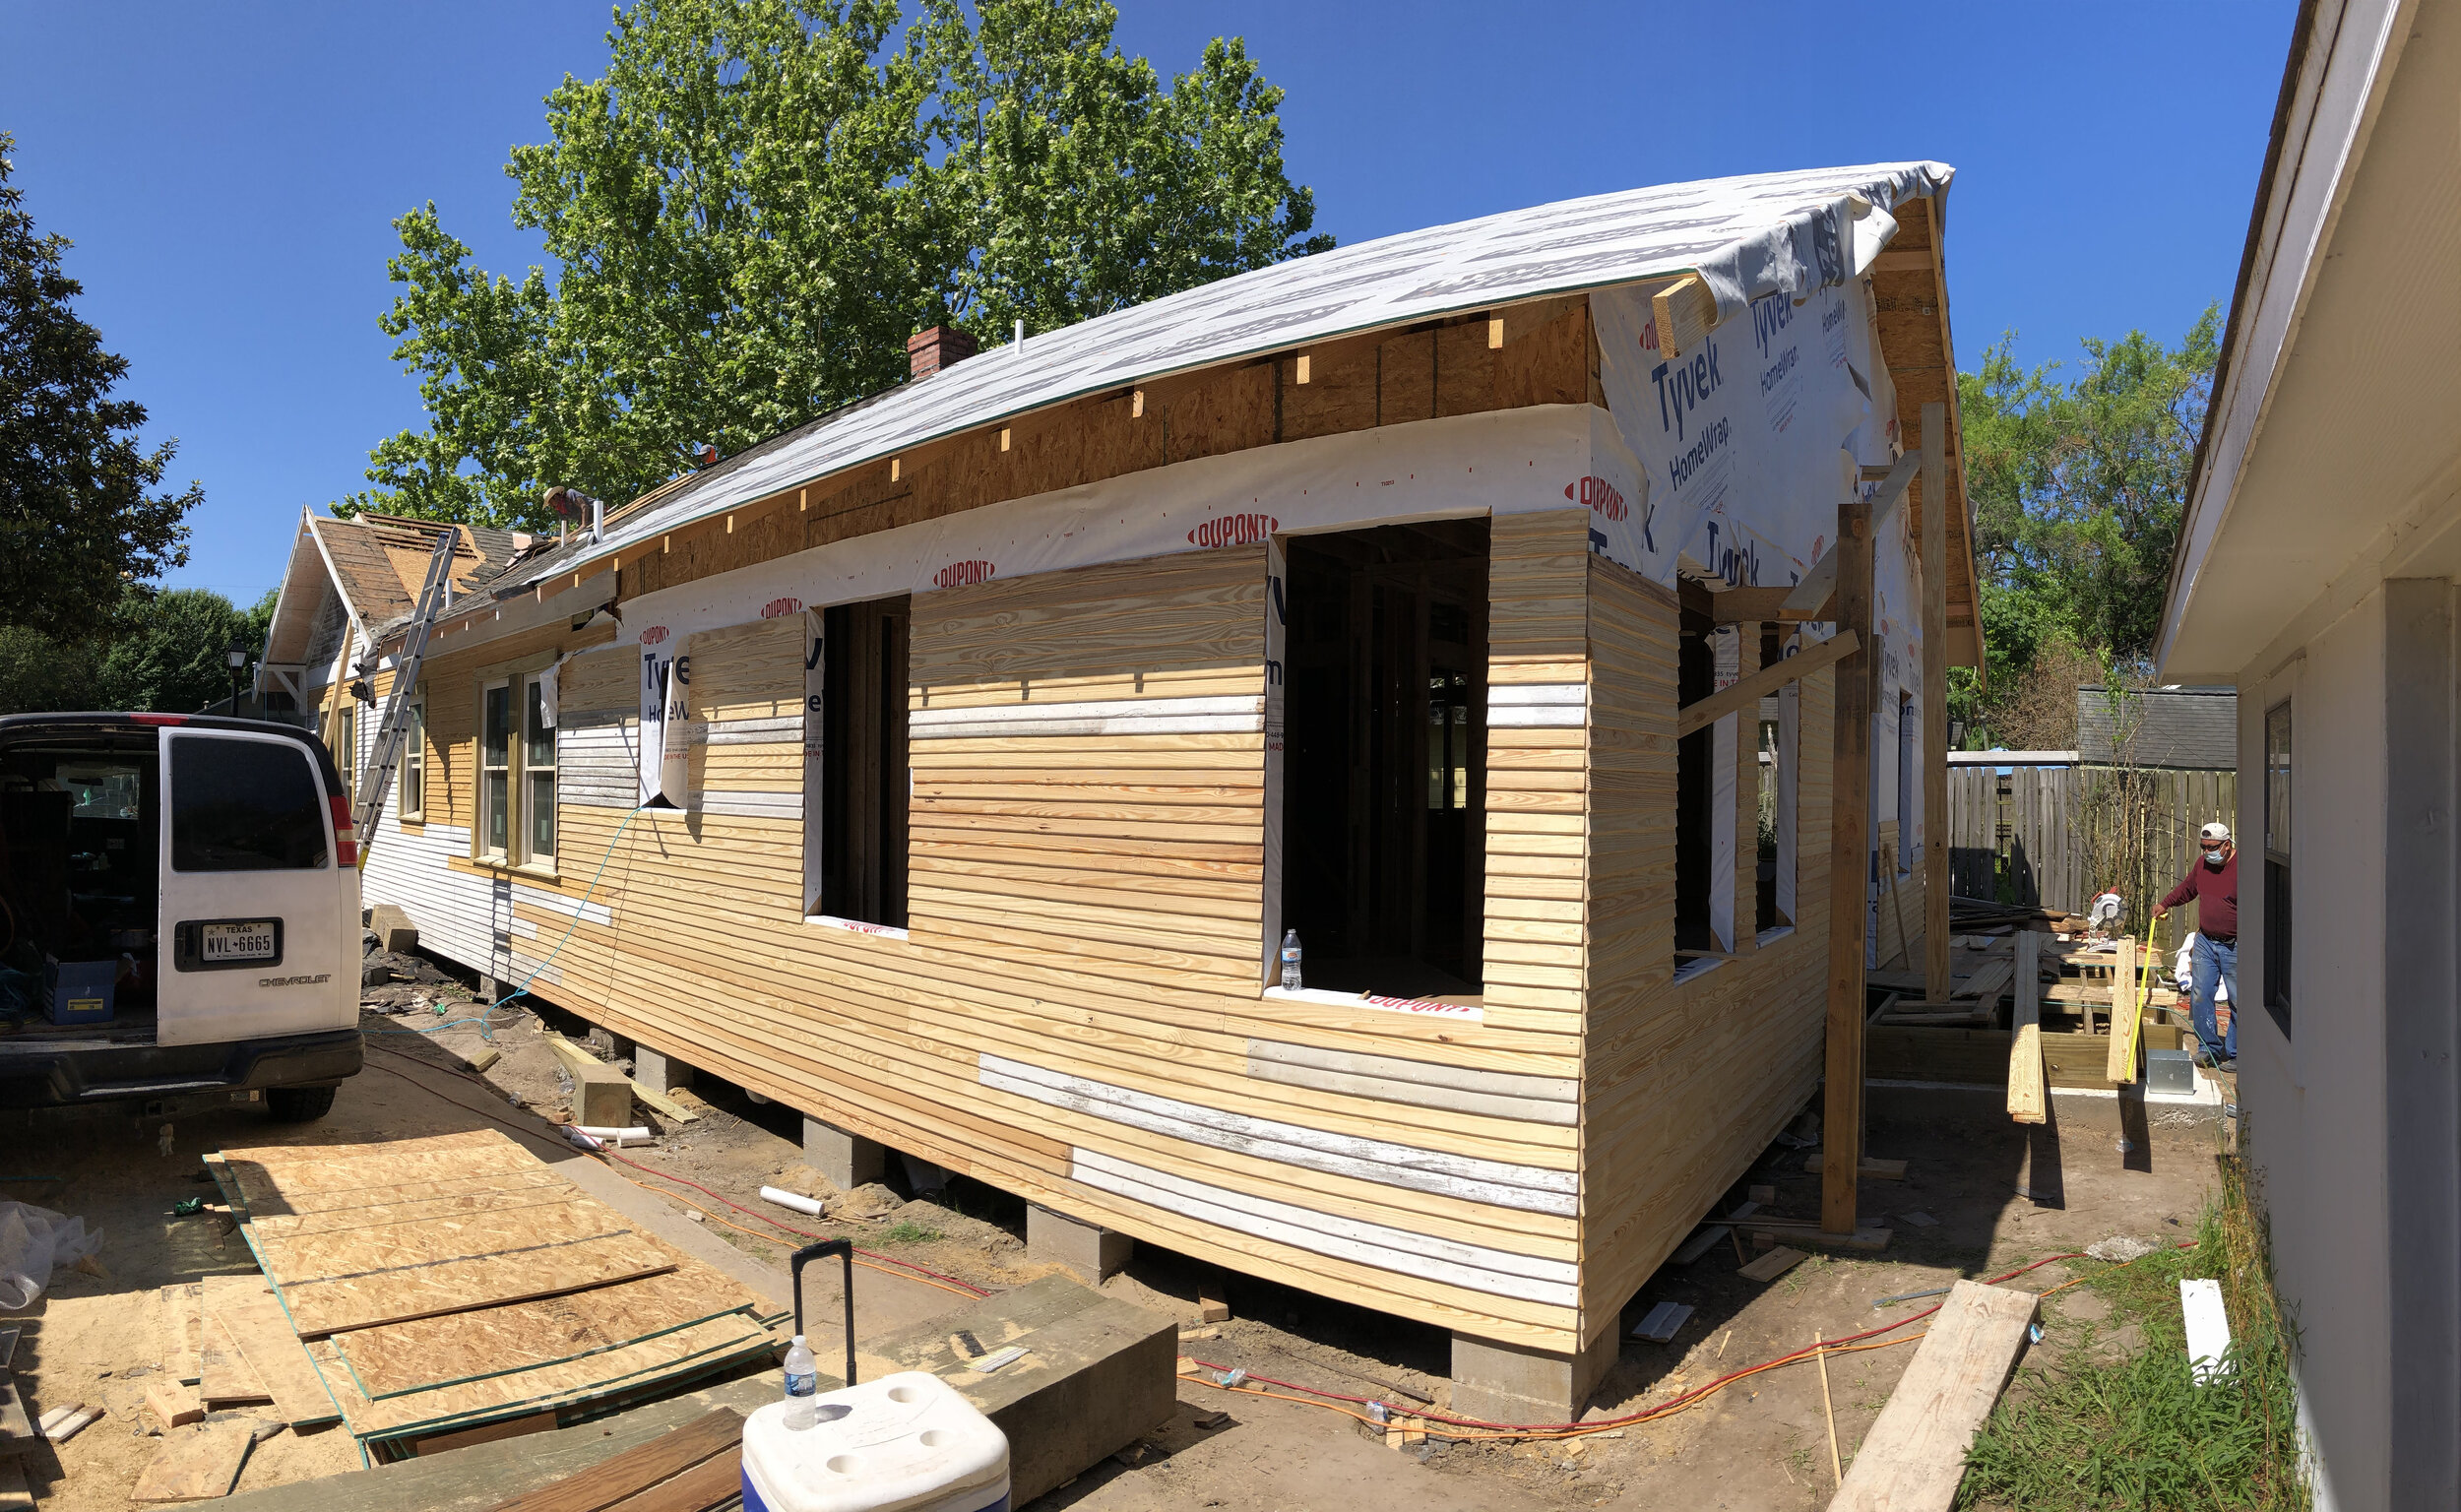
5-6-21 New siding as the rear addition seamlessly becomes part of the home.

5-21-21 Windows are installed and the rear pergola is nearly complete.

5-21-21 The rear pergola.